Sunday, June 1, 2014

The Paneled Abyss

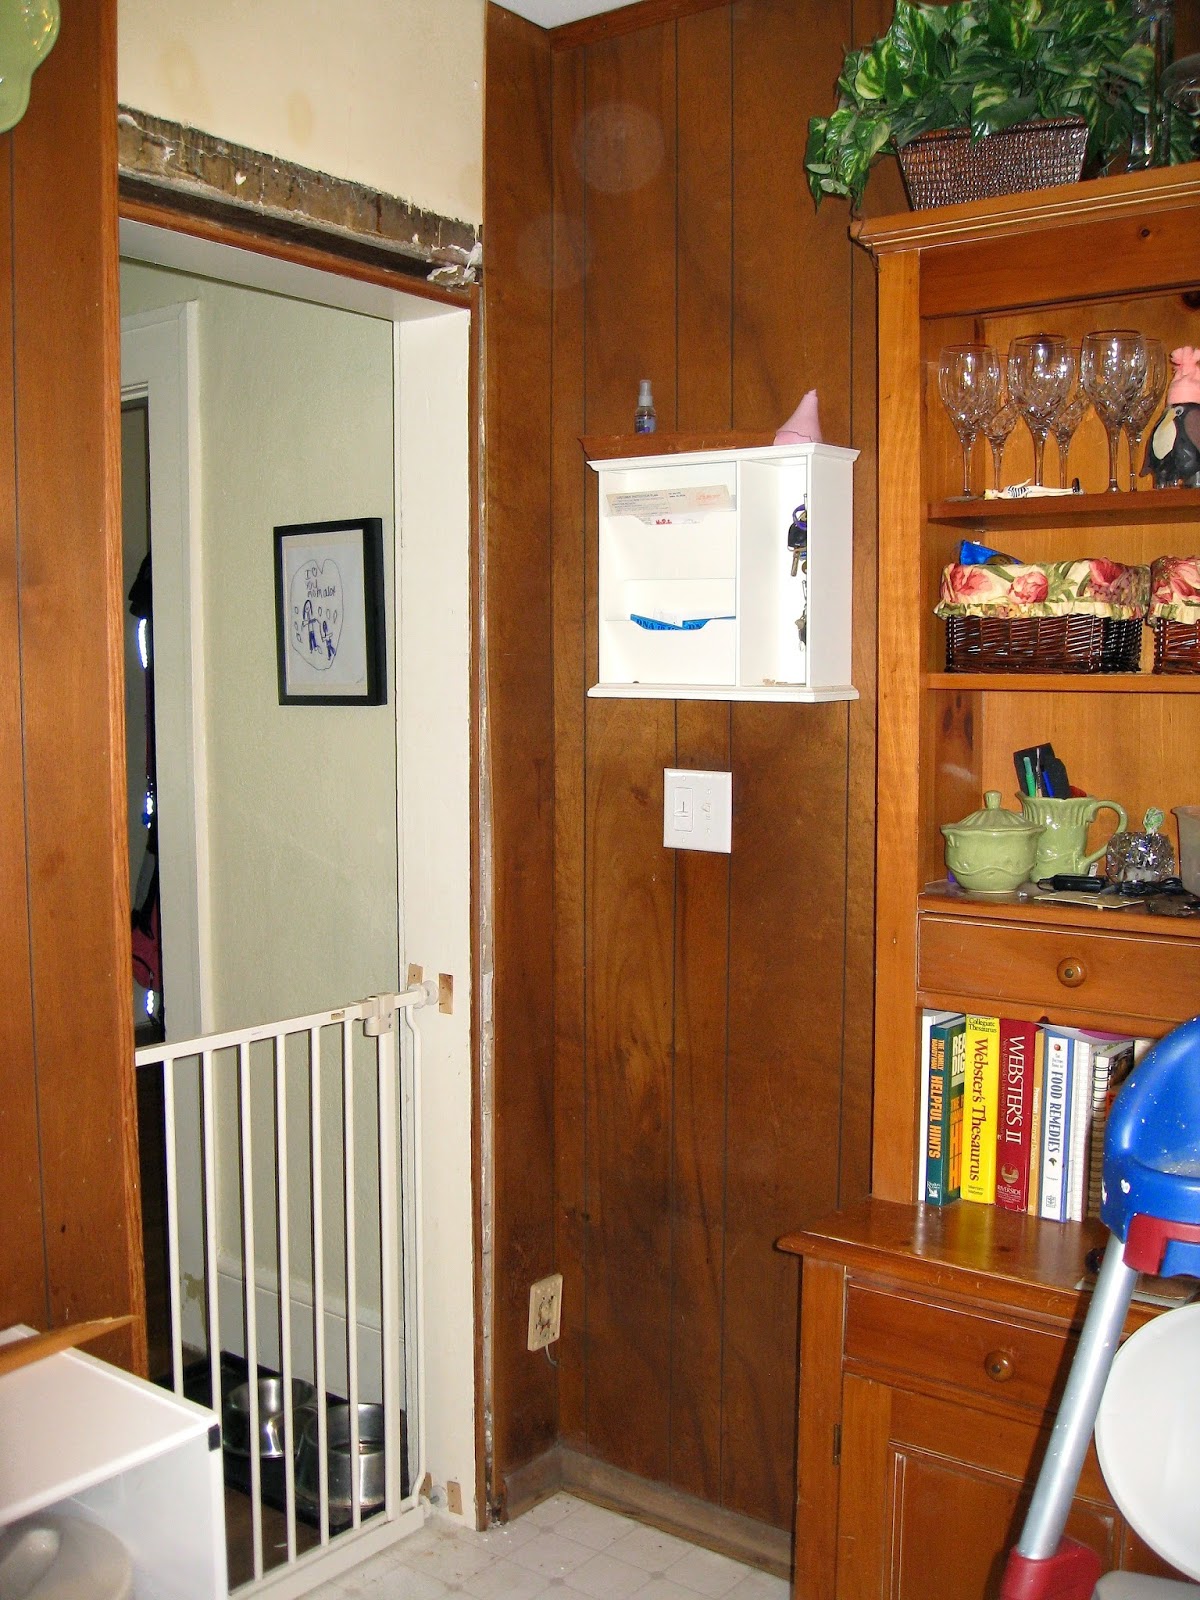
When we bought our house in 2003, I was with the understanding that one day, the ugly dark paneled kitchen would someday be renovated. Unfortunately there was always some reason it never happened—expensive repairs on something else, etc. 

Nine years later, I decided I had looked at the old dark paneling in my kitchen long enough. It was time to come down. The biggest question I had was, "What was the paneling hiding?"

Our house was built in 1925, and since there are plaster walls throughout the rest of the house, I knew there would be plaster behind the paneling. What kind of condition would it be in? I started with the wall above the door leading to the dining room...
Not too bad of condition so far… why would someone have installed this wretched paneling and ripped out the thick beautiful woodwork that used to be here? You can see where the old woodwork extended to.
Ugh… more paneling...
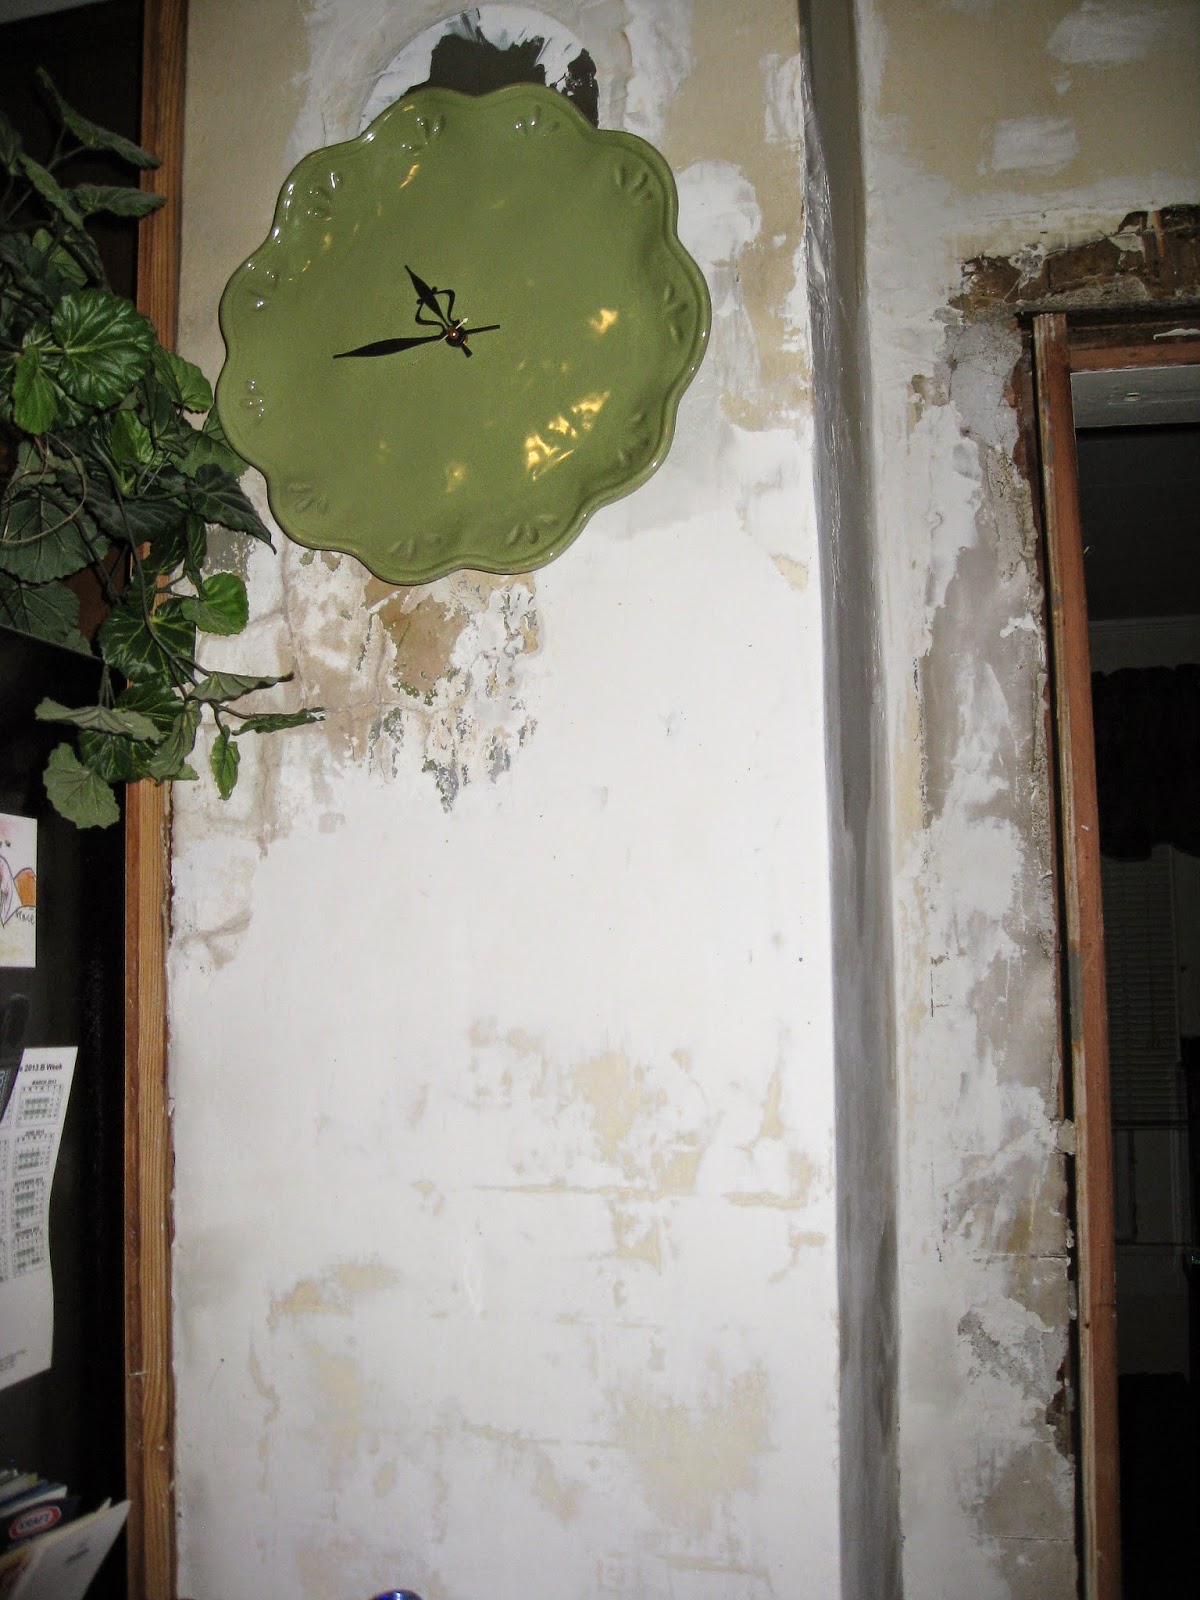
Now the walls are starting to look a little rougher. The one right next to the refrigerator is an old brick chimney that's been plastered over.
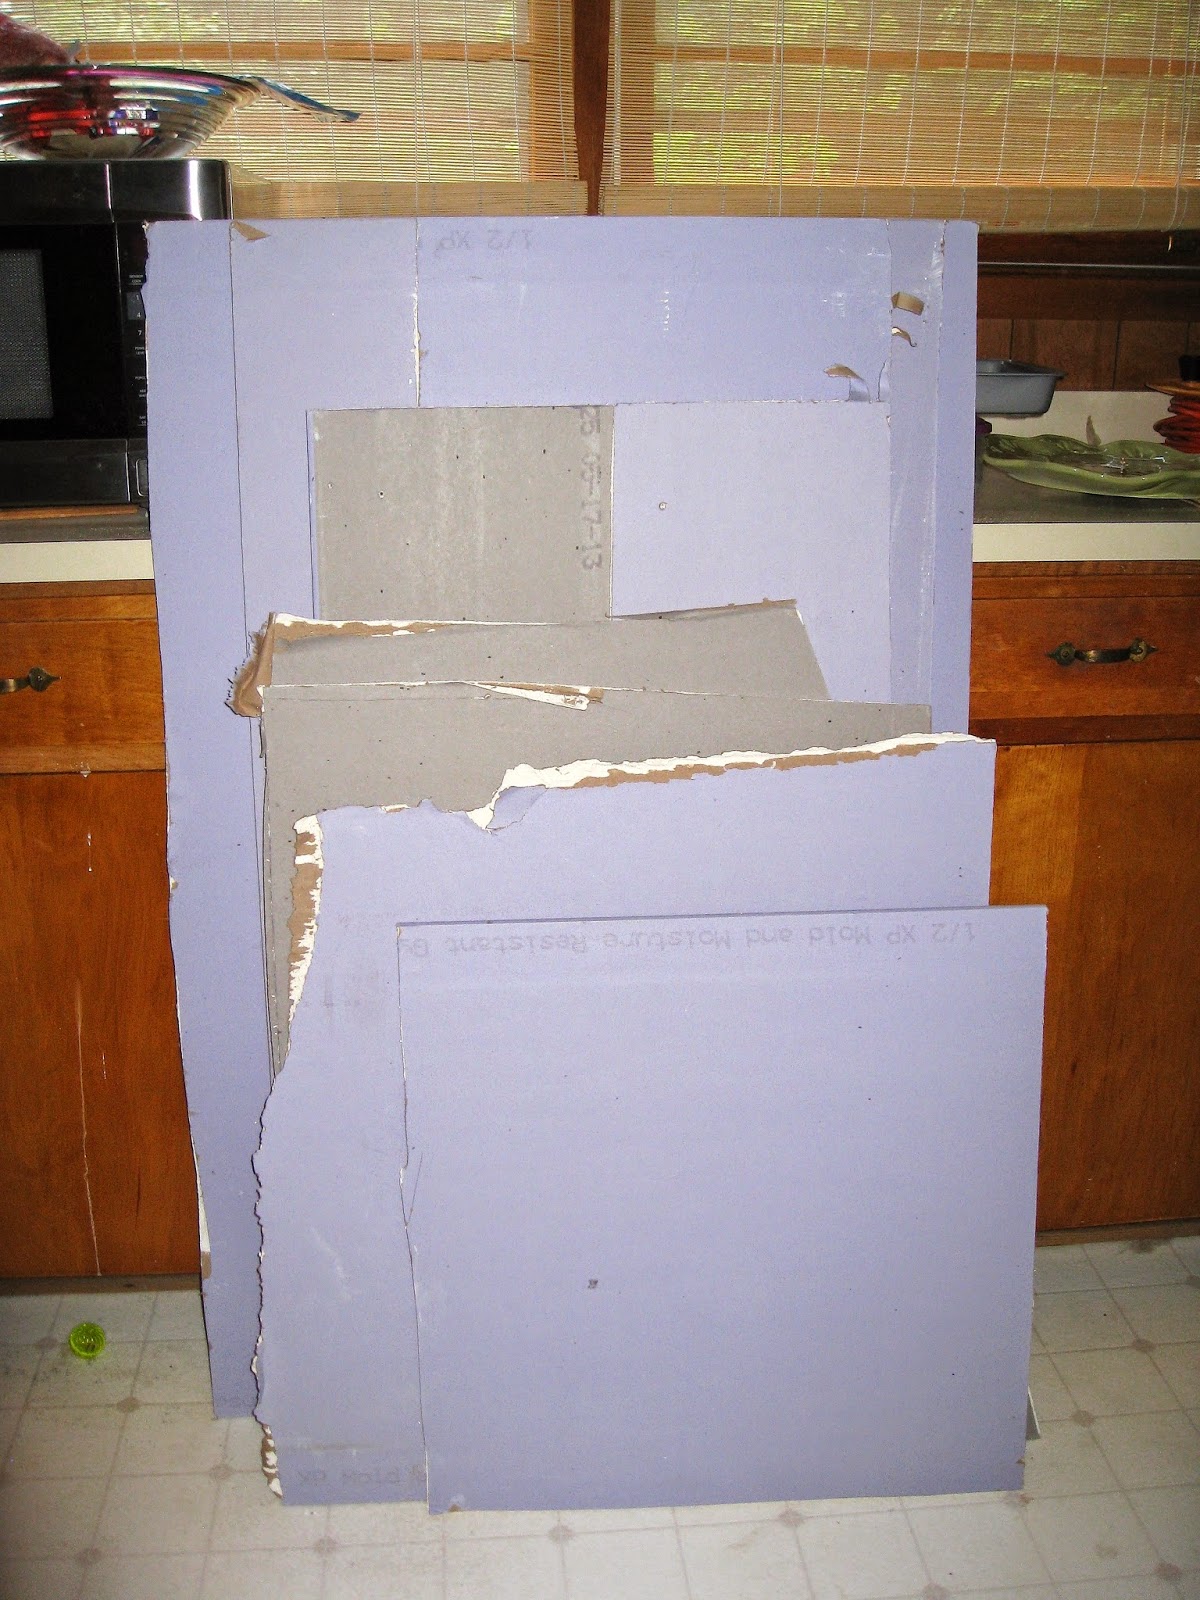
An exciting Craigslist find! Someone was giving away drywall scraps! This could be perfect for a ceiling repair I am going to have to make!
I've started to do some plaster patching. Lots of unevenness and busted up plaster to repair!
Unfortunately, I didn't get very far with this project. Someone else who lives in the house (a relative of mine who shall remain nameless and doesn't deal with construction chaos well) found the condition the walls were in to be especially alarming and put a stop to my progress.

This is the state my kitchen would remain in for the next year...

Saturday, May 31, 2014

Now I Crown Thee, and Thee, and Thee, and...

It's school play season again, and I have been tasked with making FIVE crowns and FOUR headpieces for some of the cast. You may recall that last year I created an extravagant crown out of paper. This year my crowns will be made of lace!
Here are three cuts of Venise lace that I will be using to make some of my crowns with. So beautiful!!
After spray painting with metallic and glitter paints, this is how my strips of lace look.

I can't wait to see how the stage lights will make them twinkle!

Next I adhered some corded bias tape to the edge of a piece plexiglass, then the lace, and formed it into a circle. I also sewed some loops to the bias tape so the crowns could be affixed to actors' heads with barrettes or bobby pins. Some crowns were adorned with rhinestones.

And, …VOILA!! Here are some of my beautiful crowns!
Fairy godmother
Queen of the South
King of the South
Queen of the North
I also needed to make some headpieces for some fairies. The fairies wore fancy party dresses decked out in sequins—I thought they resembled short prom dresses. Anyways, I wanted the fairies to have headpieces that had a similar look and feel to them. I aimed to create a 1920s-flapper type of vibe with them. Here's what I came up with:
The girl that wore this had on a greenish teal colored dress similar to the teal color in the peacock feather.
The girl that wore this had on a bright royal blue dress the same color as the bright blue feathers in this headpiece.
This headpiece was worn by an evil fairy. Its darker tones looked lovely with her black sequined dress.
The fairy that wore this had on a navy blue dress. The bendable butterfly added a nice whimsical touch.
In the end, the headpieces looked really nice in the play. I can't wait to see what they task me with next year!

Tuesday, July 23, 2013

Door Update!

My beautifully painted new old door!
Click on the door to see the original post!

Monday, July 15, 2013

Bowled Over with Inspiration

A while back, I was perusing Pintrest and came across a novel idea—tiled bowling ball garden ornaments. This looked pretty neat to me and I thought it might be a good project I could do with my kiddo.

So last summer we shopped garage sales and thrift stores for an old bowling ball (only $3) and colored dishes. Family members donated to the cause, giving us their old chipped and unwanted dishes—Sis even gave us some lovely iridescent purple glass beads that adorned the tables at her wedding reception! To top it off, my MIL found a nice gazing ball stand at a garden center that she picked up for me!
Here's Big Goonie aka Bill with our bowling ball. We've taken a Sharpie and drawn some swirly lines on it on which to put our glue (heavy duty construction adhesive) and adhere our glass beads.
Bill helped me smash some dishes on the sidewalk, covered with an old towel. We decided to put purple glass beads on the swirls, turquoise tile pieces on the third top of the ball, green in the middle, and yellow at the bottom third.
Here's our supplies, neatly placed in dishes that will one day become part of another project!
Tiling is going well!
Still a work in progress, but too excited about our progress to not share the project!
And this is where we're at! Just a little more tiling to go! Thank goodness I have another matching green bowl—we're going to need it! I found some ivory grout at Habitat for Humanity for just a couple of bucks. Might have preferred white, but I think it will do! Stay tuned for the final reveal!

When One Door Shuts, Another Opens

“Look on every exit as being an entrance somewhere else.”
― Tom Stoppard, Rosencrantz and Guildenstern Are Dead

I live in a Colonial-style home that was built in 1925. The doors in my home are from the 20s with glass door knobs and heavy brass hinges. They are lovely—all except one door, that is.

The door leading to the basement/laundry area is the abnormal one. It is a hollow-core door with peeling laminate from decades gone by and I positively hate it. For a while now it has been my goal to one day change out this door to match the others in my home.
The door to the basement. YUCK!
One day, about a year ago, my neighbor (who had done extensive renovations on her home prior to moving in a few years ago) happened to mention that she had a door that matched mine laying in the rafters of her garage that I was welcome to have. I couldn't believe my luck! It was the perfect size! And it was already stripped of all of its years of paint! I rushed it home before she could change her mind! :)
The new old door! In this shot you can see I've been doing some repairs—wood glue here and there as well as wood filler in spots.
The door leaned against my kitchen wall for a year until I was finally ready to install it. I've never done this before! It took me a while to work up the nerve and sort out my plan as to how I was going to do this, after all, this was the only antique door I had on hand—no room for error!

In the meantime, I scoured antique stores looking for hinges that matched the ones throughout my house. I picked up these beauties for a couple of bucks! I also picked up a new antique-style doorknob set for the door at Lowes. Now I had all of my parts! Let's get to work!
The paint was on thick and cracked and came off without much encouragement.
Woohoo! A stripped hinge!
And... VOILA!! My new old door to the basement! I did it!! I am so pleased with it!! It even has a lock—THAT WORKS! So exciting... Now I just need to take it back down and get it painted.
My new old door to the basement with gorgeous glass door knobs and working lock!
For a future project, I've got that wretched paneling in my crosshairs... stay tuned...

Thursday, July 11, 2013

It's Not Easy Being Green...

There's so many different shades to choose from!

Sis decided it was time to update her kitchen. In fact, a few weeks ago, she and Handy Hubs got a little crazy and painted all of their kitchen cabinets (you'll see this in the reveal down below)!
Kitchen cabinets before
Kitchen before
During my most recent visit, she decided it was time to update the wall color as well. The green that was in there was a taupe-ish camouflage green. She wanted something cheerier. We brought home four samples before we settled on our final choice.
Here you can see some of our sample colors. Sis has taped off the woodwork and I have started to cut in the edges. This is going to look good!
And... VOILA! White kitchen cabinets with fresh green walls. Beautiful!

Let There Be Light!

My kid and I traveled to see my sister for a short visit. As usual, Sis had a long list of tasks that she wanted to accomplish—many of which my expertise would come in handy for!

One item to address were the sconces above her fireplace—they don't particularly go with her decor. We decided to paint them until she is able to find something she likes even better.
Before
After
Perhaps they'll find their way to my house once she finds something more to her liking?